

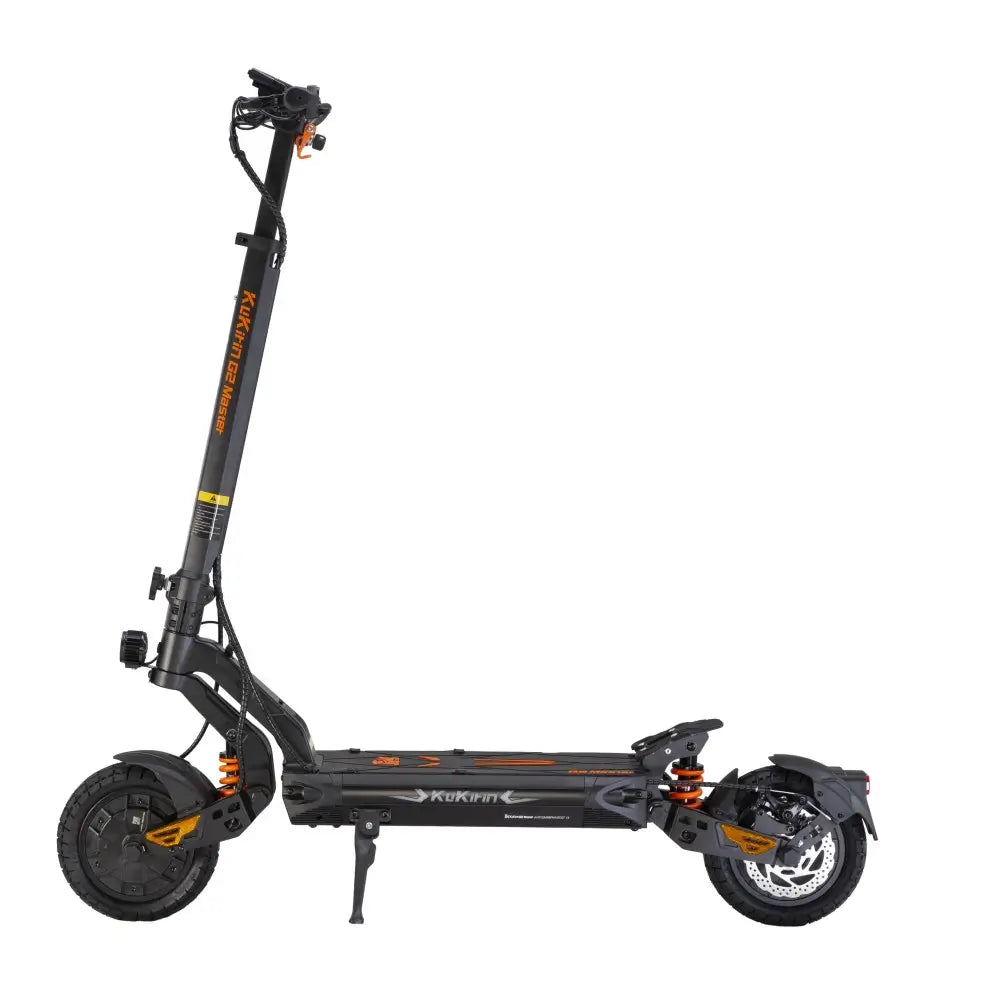










Dashboard Too Complicated? Here's How to Set KuKirin G2 Master's P1–PC Menu

So you've just unboxed your KuKirin G2 Master – a dual‑motor beast with hydraulic suspension and serious power. But then you look at the LCD dashboard and see codes like P1, P2, P3, P4, P6, P8, PA, PB, PC… and suddenly it feels like rocket science.
Don't worry. You're not alone.
In this UK‑friendly guide, I'll walk you through each menu item step by step, explain what it does, and tell you which settings work best for British roads (and regulations).
First – How to Enter the Hidden Menu
Important: The scooter must be powered on and stationary.
-
Press the power button (usually on the handlebar) three times in a row quickly.
-
The display will now show P1 (the first menu item).
-
Use the power button to navigate through P1, P2, P3… up to PC.
-
To change a value, short‑press the Mode or Set button (depending on your display version).
-
To save and exit, simply turn the scooter off and on again.
Easy, right? Now let's break down every single setting.
P1 – km/h vs mph (UK IMPORTANT!)
| Setting | Meaning |
|---|---|
| 0 | Miles per hour (mph) |
| 1 | Kilometres per hour (km/h) |
✅ For the UK, set this to 0 (mph).
UK speed limits and rider expectations are in mph – keep it legal and intuitive.
P2 – Voltage Level
| Setting | Voltage |
|---|---|
| 0 | 36V |
| 1 | 48V |
| 2 | 52V |
| 3 | 60V |
✅ Set this to 2 (52V) for the G2 Master's standard battery.
The scooter uses this to calculate battery percentage accurately.
P3 – Wheel Diameter (Inches)
| Setting | Diameter |
|---|---|
| 0 | 8 inch |
| 1 | 9 inch |
| 2 | 10 inch |
| 3 | 11 inch |
| 4 | 12 inch |
✅ Set this to 2 (10 inch) – matches the G2 Master's tyres.
Wrong value = incorrect speed and odometer readings.
P4 – Magnetic Pole Pairs
This is a motor parameter.
✅ Leave at default (usually 15–20) unless you've changed the motor.
If you're unsure, don't touch it – wrong settings can mess up speed display.
P5 – Cruise Control (Not shown on all displays – check yours)
| Setting | Meaning |
|---|---|
| 0 | Cruise control OFF |
| 1 | Cruise control ON |
✅ Set to 1 if you like long, steady rides – hold the throttle steady for a few seconds and it locks speed. Tap brake to cancel.
P6 – Zero Start vs Non‑Zero Start – UK SAFETY TIP
| Setting | Meaning |
|---|---|
| 0 | Zero start – scooter accelerates from standstill |
| 1 | Non‑zero start – you must push off first (kick‑to‑start) |
✅ Set to 1 for safer UK riding.
Non‑zero start prevents accidental throttle bumps at traffic lights. Many UK e‑scooter trials also prefer this behaviour.
P7 – Speed Limit Mode (Not on G2 Master by default – check if present)
Some firmwares show P7 for a global speed limit.
If yours has it:
-
Set to 25 km/h (15.5 mph) for UK legal compliance on public land.
-
Set higher for private land only.
P8 – Auto Sleep Time (Minutes)
| Setting | Auto off after |
|---|---|
| 0–60 | Minutes of inactivity |
✅ Set to 5–10 minutes – saves battery if you forget to turn it off.
PA – Start Strength (Acceleration)
| Setting | Effect |
|---|---|
| 1 (low) | Smooth, gentle start |
| … | … |
| 5 (high) | Aggressive, punchy start |
✅ Start with 2 or 3.
Too high = wheel spin on damp UK roads. Too low = sluggish from lights.
PB – Brake Strength (Electronic Brake)
| Setting | E‑brake intensity |
|---|---|
| 1 (low) | Very light regen |
| … | … |
| 5 (high) | Strong electronic braking |
✅ UK recommended: 3 or 4.
Strong enough to help your disc brakes, but not so strong it feels jerky – especially useful in wet British weather.
PC – Total Mileage Reset
| Setting | Meaning |
|---|---|
| Hold/reset | Clears total odometer |
⚠️ Use with caution.
This is mainly for servicing or resale. Most UK riders should leave it alone.
Bonus UK Setting – Speed Limit Mode (Via Brake + Power Button)
The G2 Master also has a quick speed limit toggle:
-
Hold the brake lever.
-
Double‑click the power button quickly.
-
The dashboard border will flash – speed limit is now active (usually 25 km/h / 15.5 mph).
-
Repeat to unlock full speed.
✅ Perfect for complying with UK public e‑scooter trials when needed, then switching back on private land.
Quick Reference Cheat Sheet (Save This!)
| Menu | Function | UK Recommended Value |
|---|---|---|
| P1 | mph / km/h | 0 (mph) |
| P2 | Voltage | 2 (52V) |
| P3 | Wheel size | 2 (10 inch) |
| P4 | Pole pairs | Default (don't change) |
| P5 | Cruise control | 1 (ON) – optional |
| P6 | Start mode | 1 (non‑zero start) |
| P8 | Auto sleep | 5–10 minutes |
| PA | Start strength | 2 or 3 |
| PB | Brake strength | 3 or 4 |
| PC | Reset odometer | Ignore |
Final Thoughts – Don't Be Intimidated
The KuKirin G2 Master's menu looks scary at first – but once you understand P1 to PC, you'll realise it's just fine‑tuning your ride.
Take 5 minutes, go through each setting once, and you'll never have to think about it again. Your scooter will feel smoother, safer, and perfectly dialled for UK roads and weather.
Got questions? Drop them in the comments – or check your instrument manual for more details.
Leave a comment